Pineapple and Passion Fruit Jam

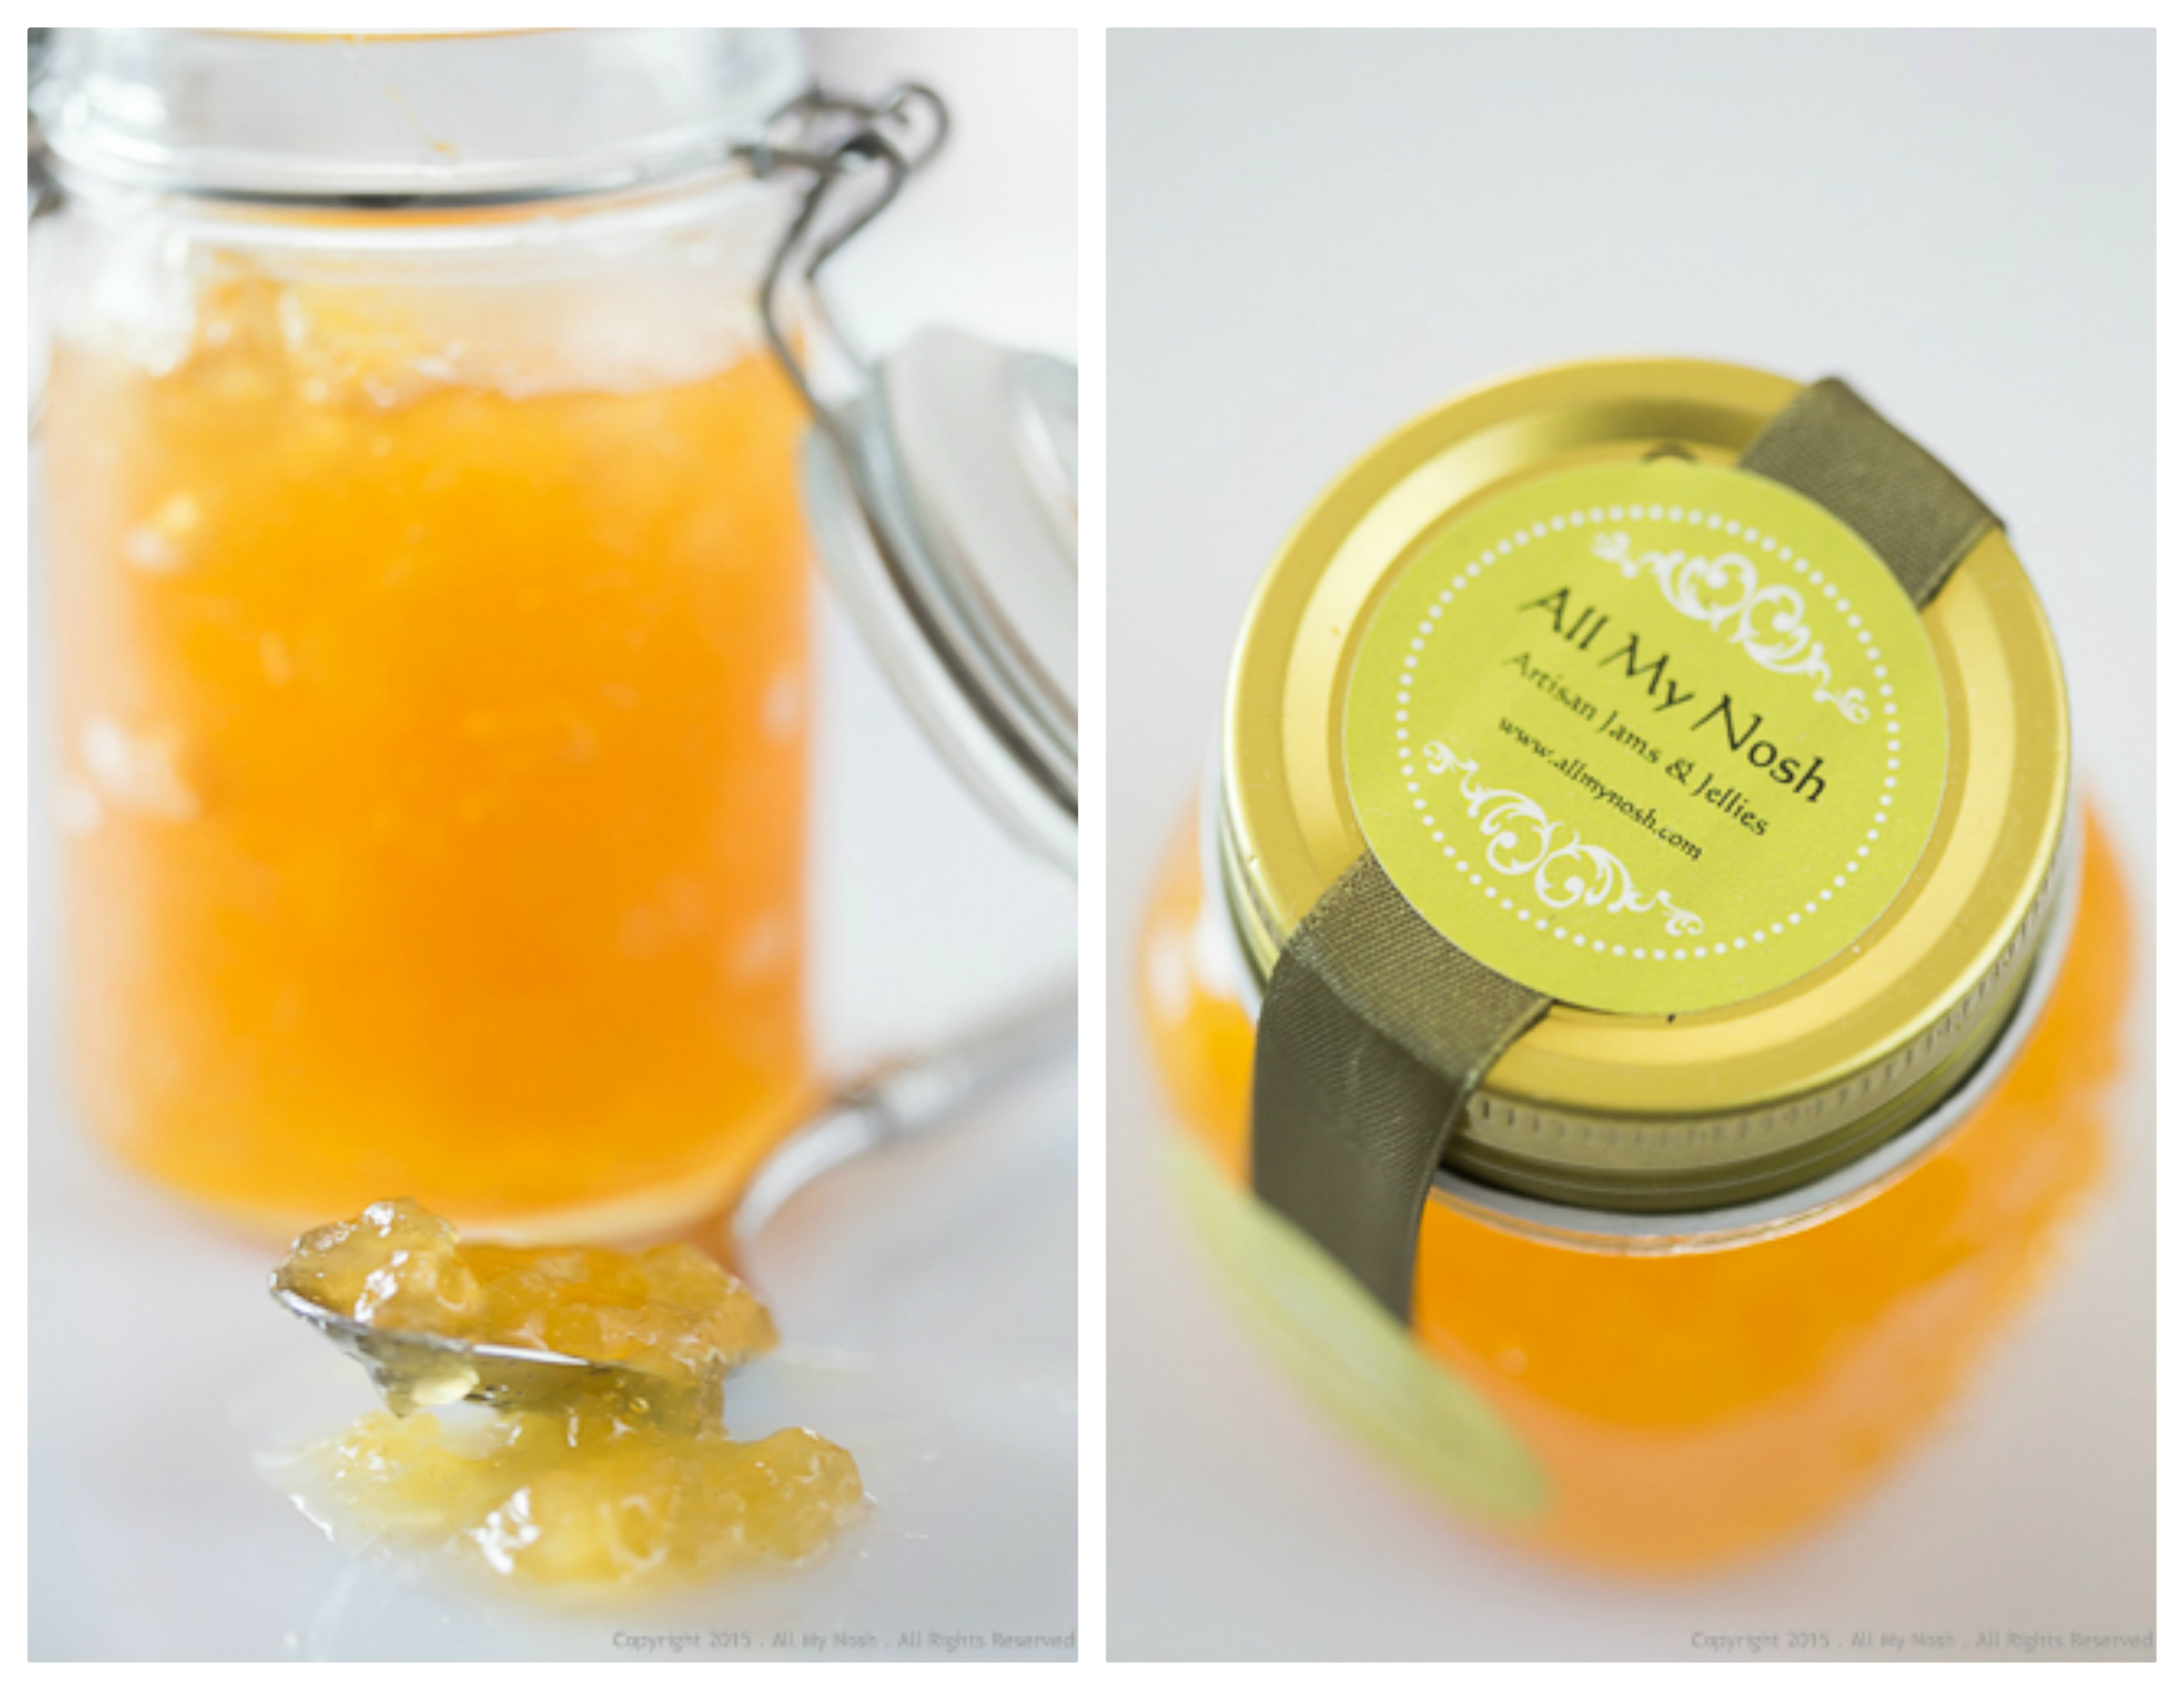
Fruity, sweet and tangy all in one spoonful, this delicious jam is perfect for spreading on toast or can also be used as an accompaniment for cheese or as a topping for ice cream. You will also start feeling grateful that you captured the very exotic flavors of passion fruit in a jar. If you like jams and preserves with lively tartness and not too much sweetness, try this out.

Pineapple and Passion Fruit Jam

Ingredients:

2 pineapples, skin & core removed, chopped (about 575 grams)
700 grams granulated sugar
235 millilitres passion fruit juice
3 tablespoons fresh lemon juice
1.5 packets pectin

Directions:

Mix the pectin with 200 grams of the sugar (set the rest of the sugar aside for now). This helps to keep the pectin from clumping up.

Stir the pectin/200 grams sugar mixture into the chopped pineapple, lemon juice and passion fruit juice. Put the mix in a non-reactive pot and put it on the stove.

Bring the mixture back to a full boil.

Add the remaining sugar and bring the mixture back to a full boil. Once it hits a full, rolling boil, stir and boil for 1 minute.

Meanwhile, sterilize jars and lids. Submerge jars in large pot filled halfway with simmering water, and lids in small pot of simmering water. Keep jars and lids in hot water until ready to use.

Remove jars one at a time from hot water, and fill with jam, leaving ¼-inch headspace. Seal with lids. Place canning rack or cake rack in bottom of large pot, and return sealed jars to pot, adding extra water to cover jars by 1 inch. Bring water to a boil and boil 10 minutes. Remove jars from water, and cool.

This recipe makes 6 8-oz. jars.

For USDA canning guidelines, please click here.

Note: The recipes on this site are my original creations or have been adapted from existing recipes with the original sources attributed. All recipes on this site have been tested at least once in my kitchen. Any and all errors are entirely mine.

Copyright© 2015 . All My Nosh . All Rights Reserved

Advertisement

Pain au chocolat (Chocolate Croissants)

A good chocolate croissant should be fresh, a nice golden brown color on the exterior, flaky, light, buttery but not greasy, a moist, soft and chocolaty interior but it should not be weighed down from moisture content of butter, grease or chocolate.

Chocolate Croissant

Ingredients:

1 tablespoon dry yeast
2 teaspoons salt
1 cup milk
2 oz sugar
3-4 cup all purpose flour
8 oz unsalted butter
12 oz best quality semi-sweet chocolate chips
Egg wash: 2 egg yolks mixed with 2 tablespoons of water

Directions:

Make sure all your ingredients for this recipe are chilled before making your dough.

Boil the milk and let cool to 110°F. Proof the yeast in ½ cup of the milk with a pinch of sugar and a little flour. Add the remaining milk and whisk in 1/2 C flour until smooth.

Whisk in the salt and sugar. Add flour little by little until a smooth ball of dough is formed. Knead the dough gently and form the dough into a ball. Place the dough in a greased bowl and let the dough increase twice its volume.

Punch down and place in fridge for 5 hours or overnight.

Roll the dough 1/4” thick and pound the butter out between plastic wrap half the size of the dough. Put the butter on 1/2 the dough, fold the dough over and seal the edges with water.

Fold the dough three times. Let he folded dough rest in the fridge 45 minutes, then roll the dough to a rectangle, then fold in 3 again. Let the folded dough rest 45 minutes, roll, and fold in 3 again. Let the dough rest 1 hour.

Preheat the oven to 400°F.

Roll the dough into 1/4” thick layer. Cut the dough into 16 rectangles 2” x 4”.

Sprinkle some of the chocolate in the center. Roll up the croissants seam side down, and then brush with egg wash. Let rise on a parchment lined baking sheet until raised about double in size.

Place in the 400° F. Immediately turn the oven down to 375° F and bake until puffed, about 15 -20 minutes.

Note: The recipes on this site are my original creations or have been adapted from existing recipes with the original sources attributed. All recipes on this site have been tested at least once in my kitchen. Any and all errors are entirely mine.

Copyright© 2015 . All My Nosh . All Rights Reserved

Pear and Ginger Jam

Love of food can make you do strange things. I have over six kinds of jam in my fridge – because of my love of jam. So, for a while, I fantasized about making my own jam. This is my first attempt at jam making. The pairing of pears and ginger gives fragrant and delicious jam. It is comfort in a jar, perfect for a warm piece of toast or croissant.

Making jam is relatively simple, and once you have made one kind of jam, others just easily fall into place for you. The instructions for basic jams are all pretty much the same. You only need to make minor modifications for different fruits. Jam making could be addictive, but give it a chance.

Pear & Ginger Jam

Ingredients:

4 lb. ripe but firm pear (e.g., Bosc)
4 cups sugar
¼ cup fresh lemon juice
4 tsp. grated fresh ginger
3 Tbs. pectin

Directions:

Peel and core the pears. Grate the pears using largest holes on a hand grater. Combine the grated pears with sugar, lemon juice, and ginger in large stainless steel pot.

Bring the pear mixture to a boil. Reduce heat to medium-low, and cook for 45 minutes until jam has thickened. Stir pectin into ¼ cup jam liquid, and add to jam. Cook 3 minutes more, or until jam is thick.

Meanwhile, sterilize jars and lids. Submerge jars in large pot filled halfway with simmering water, and lids in small pot of simmering water. Keep jars and lids in hot water until ready to use.

Remove jars one at a time from hot water, and fill with jam, leaving ¼-inch headspace. Seal with lids. Place canning rack or cake rack in bottom of large pot, and return sealed jars to pot, adding extra water to cover jars by 1 inch. Bring water to a boil and boil 10 minutes. Remove jars from water, and cool.

This recipe makes 6 8-oz. jars.

Note: The recipes on this site are my original creations or have been adapted from existing recipes with the original sources attributed. All recipes on this site have been tested at least once in my kitchen. Any and all errors are entirely mine.

Copyright© 2014 . All My Nosh . All Rights Reserved

Cherry Chocolate Almond Cake

This cake is made with ground almonds instead of flour and frosted with a decadent chocolate ganache, making it rich, elegant and surprisingly light gluten-free dessert. Chocolate and cherries in a cake go smashingly together!!

Cherry Chocolate Almond Cake - 1

Cake:

8 ounces (225 grams) high-quality bittersweet chocolate, chopped
5 ounces (150 grams) unsalted butter, at room temperature
8 ounces (225 grams) brown sugar
6 large eggs
8 ounces (225 grams) almond flour
1 cup dried cherries
1/4 teaspoon almond extract
Pinch of salt
2 tablespoons rum
1/2 cup hot water

Chocolate ganache:

1 cup heavy cream
16 ounces (450 grams) high-quality bittersweet chocolate (not unsweetened)
Toasted almonds, for garnish

Directions:

To make the cake:

Combine cherries, hot water, and almond extract: let stand 20 minutes. Drain cherries, and pat dry between layers of paper towels. Set aside.

Preheat oven to 350 degrees F. Butter and flour a 9-inch round cake pan and line with parchment paper.

Put chopped in a small bowl placed over a saucepan of simmering water. Stir as the chocolate melts and remove from heat as soon as it’s smooth. Set aside to cool.

In the bowl, beat the butter and sugar until pale and creamy. Add eggs one at a time and beat until eggs are fully blended. Add the cooled melted chocolate.

Fold in the almond extract, salt, cherries and almond flour and mix until well combined.

Pour the batter into the prepared cake pan. Bake until the edges are set but the center still jiggles when the pan is bumped, about 35-40 minutes.

Let cool 10 minutes, then run a knife around the edges to remove cake from pan and place on a wire rack to cool completely.

To make chocolate ganache:

Bring cream to a simmer in a saucepan and remove from heat. Whisk in chocolate until smooth. Transfer ganache to a bowl and chill, covered, stirring occasionally, until thickened but spreadable, about 4 hours.

To assemble the cake:

Pour ganache over the completely cooled cake, spread evenly over top and sides of cake.

To apply toasted almonds, place a handful chopped toasted almonds into one hand and lift the cake platter with the other hand. Hold the cake over a large bowl.

Lightly press the nuts in your hand onto the side of the cake. Many will fall back into the bowl. Don’t worry you can use them again.

Remove excess frosting from your fingers before pressing more nuts onto the cake, to keep the presentation neat-looking. Rotate the plate, as you work, until all the sides of the cake are evenly coated.

This cake can easily serve 8-10 people.

Note: The recipes on this site are my original creations or have been adapted from existing recipes with the original sources attributed. All recipes on this site have been tested at least once in my kitchen. Any and all errors are entirely mine.

Copyright© 2014 . All My Nosh . All Rights Reserved

Meyer Lemon-Cranberry Bundt Cake

Tangy cranberries and fragrant and bold Meyer lemons add refreshing qualities to this moist cake. Meyer lemon fruits have a sweeter, less acidic flavour than the more common supermarket lemon varieties. As the cake bakes, the cranberries are transformed into a sweet-tart compote-like texture. Ideal for brunch or afternoon coffee or tea.

Lemon Cranberry Bundt Cake_AMN

Ingredients:

12 Tbs (1 1/2 sticks) unsalted butter (at room temperature) plus some for greasing the pan(s)
2 cups fresh (or frozen) cranberries
2 1/2 cups all-purpose flour
2 1/2 tsp. baking powder
1/2 tsp. baking soda
1 tsp. salt
1 1/2 cups granulated sugar
2 Meyer lemons
3/4 cup buttermilk
1 tsp. pure vanilla extract
3 eggs
Confectioner’s sugar, for dusting

Directions:

Preheat an oven to 350°F. Grease a 12-cup Bundt pan or 12 mini Bundt pans with butter.

In a bowl, whisk together the flour, baking powder, baking soda and salt. Add the granulated sugar to the bowl of a stand mixer. Finely grate the zest from the Meyer lemons over the sugar and mix briefly.

Squeeze the juice from the Meyer lemons. In a cup, combine 4 Tbs. of the lemon juice, the buttermilk and vanilla.

Add the butter to the lemon zest–sugar mixture and beat on medium-high speed until light and fluffy, for about 1 to 2 minutes. Beat in the eggs one at a time, scraping the sides of the bowl after each addition. Reduce the mixer speed to low and add the dry ingredients in 3 batches, alternating with the buttermilk mixture in 2 batches. Scrape down the sides of the bowl and beat again, raise the mixer speed to medium-high and beat for 1 minute to aerate the batter. Fold in cranberries.

Scrape the batter into the prepared Bundt pan or mini Bundt pans. Spread the batter and smooth the top. Bake until the cake tester inserted into the center comes out clean, 35 to 40 minutes (Note: if mini Bundt pans are used, 20-25 minutes). Let cool in the pan(s) for 5 minutes, then invert the cake(s) onto a wire rack and let cool completely.

Once the cake is cool, dust with confectioner’s sugar just before serving.

This cake can easily serve 12 people.

Note: The recipes on this site are my original creations or have been adapted from existing recipes with the original sources attributed. All recipes on this site have been tested at least once in my kitchen. Any and all errors are entirely mine.

Copyright© 2014 . All My Nosh . All Rights Reserved